Dining Table Size Guide: The Only 2 Rules That Really Matter
Follow these two rulesElbow Space and Clearance and you’ll get the most out of your dining room, every time. Everything below is sized and explained through those lenses so you can choose confidently.
The 2 Rules That Really Matter
1) Elbow Space
Elbow space is simply how much table width you give each person so they don’t feel squished.
- Minimum: 60 cm per person
- Comfortable: 75 cm per person
- Luxury: 75 cm+
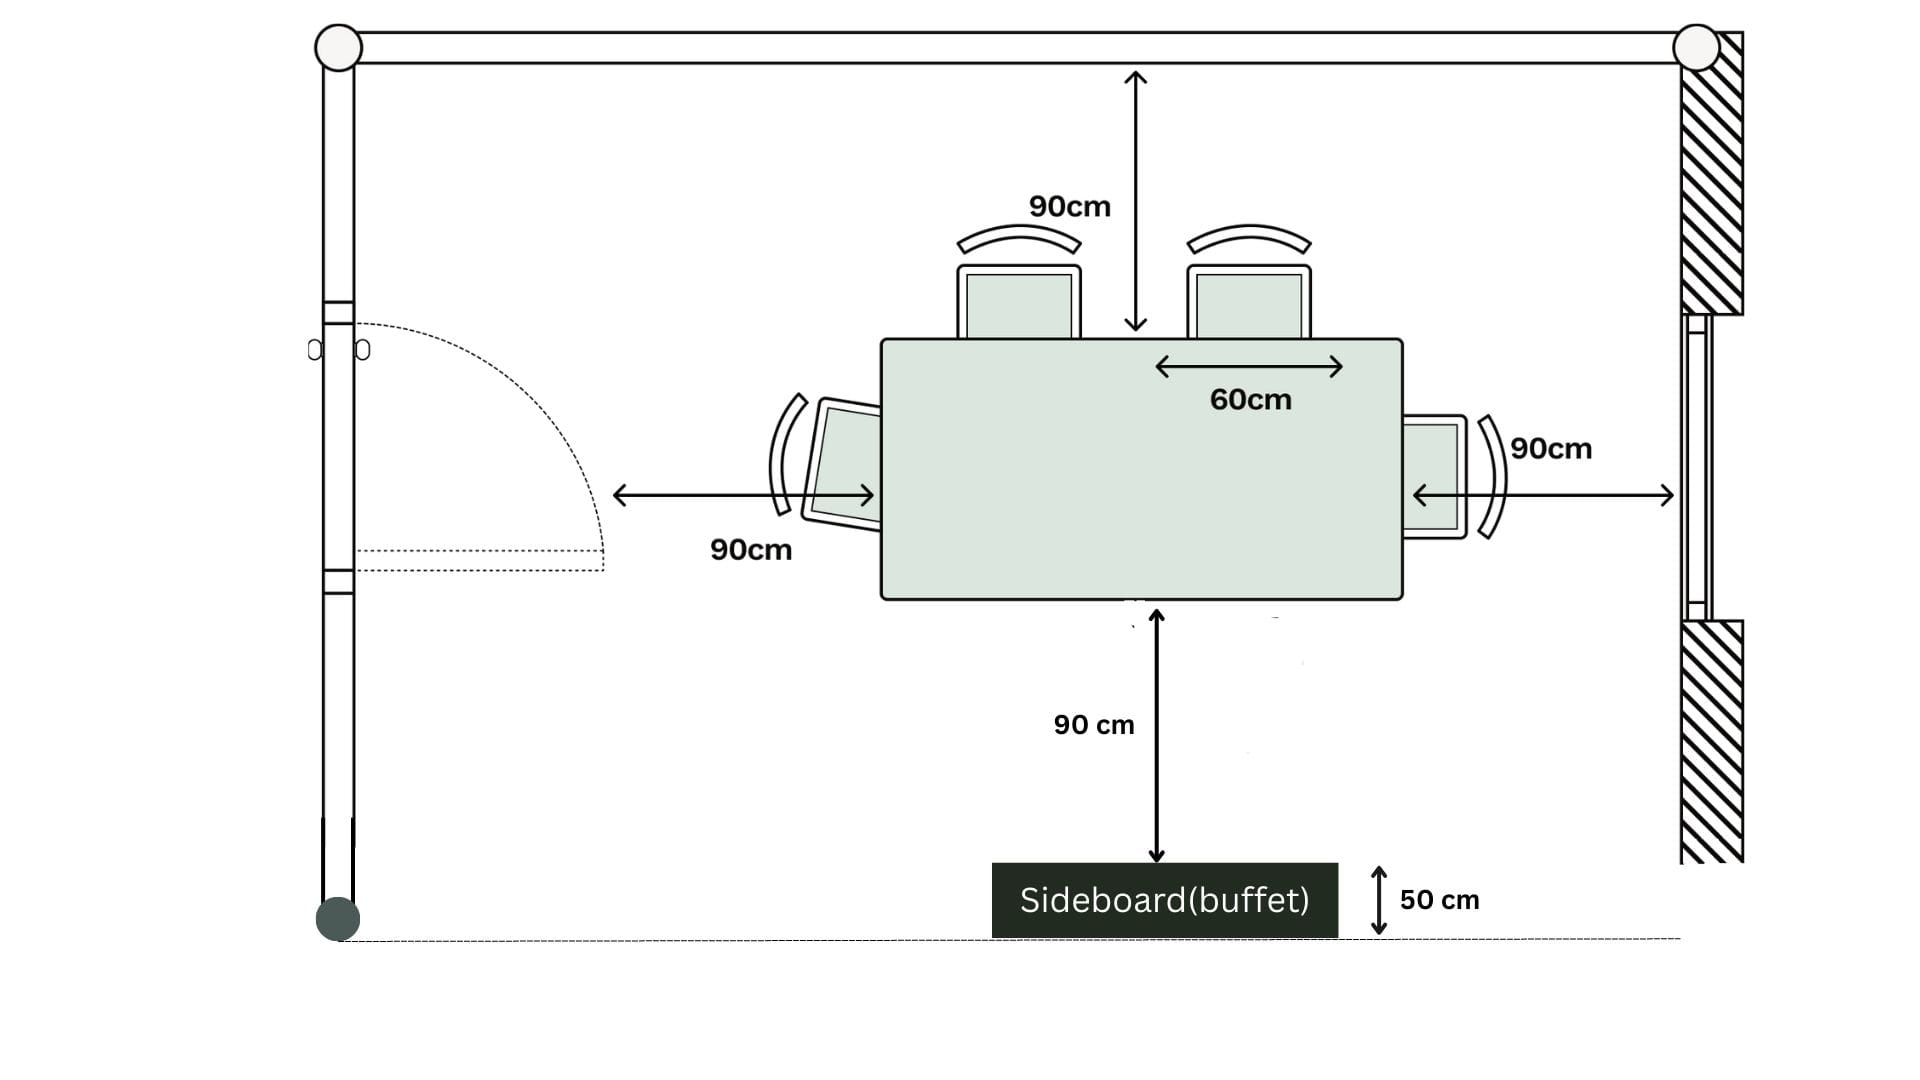
2) Table Clearance
Clearance is the distance between table edge and walls/furniture so chairs can pull out comfortably without hitting anything, and people can pass creating a great displacement flow around the table.
- Tight squeeze: If your room is small, aim for 60–70 cm. It works, but pulling chairs in and out will feel snug, and passing behind seated guests is tricky.
- Comfortable: About 90 cm is the sweet spot. Chairs move freely, and people can walk behind others without bumping or shuffling.
The smartest thing to do in small spaces:
Mixing clearances lets you fit a larger table without killing the walkway. Keep the generous side where people actually pass.
- High-traffic sides: 90 cm
- Against walls: 60 cm
- Mixed/occasional traffic: 75 cm
The Largest Table Size Your Room Allows (and Seating Capacity)
The goal is simple: find the largest table your room can handle while still leaving comfortable clearance, then see how many people it can seat. That way you maximize capacity without crowding the space.
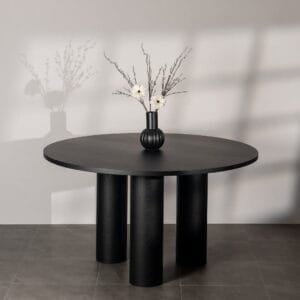
Round Tables
Easy conversation, softer edges, great in square rooms.
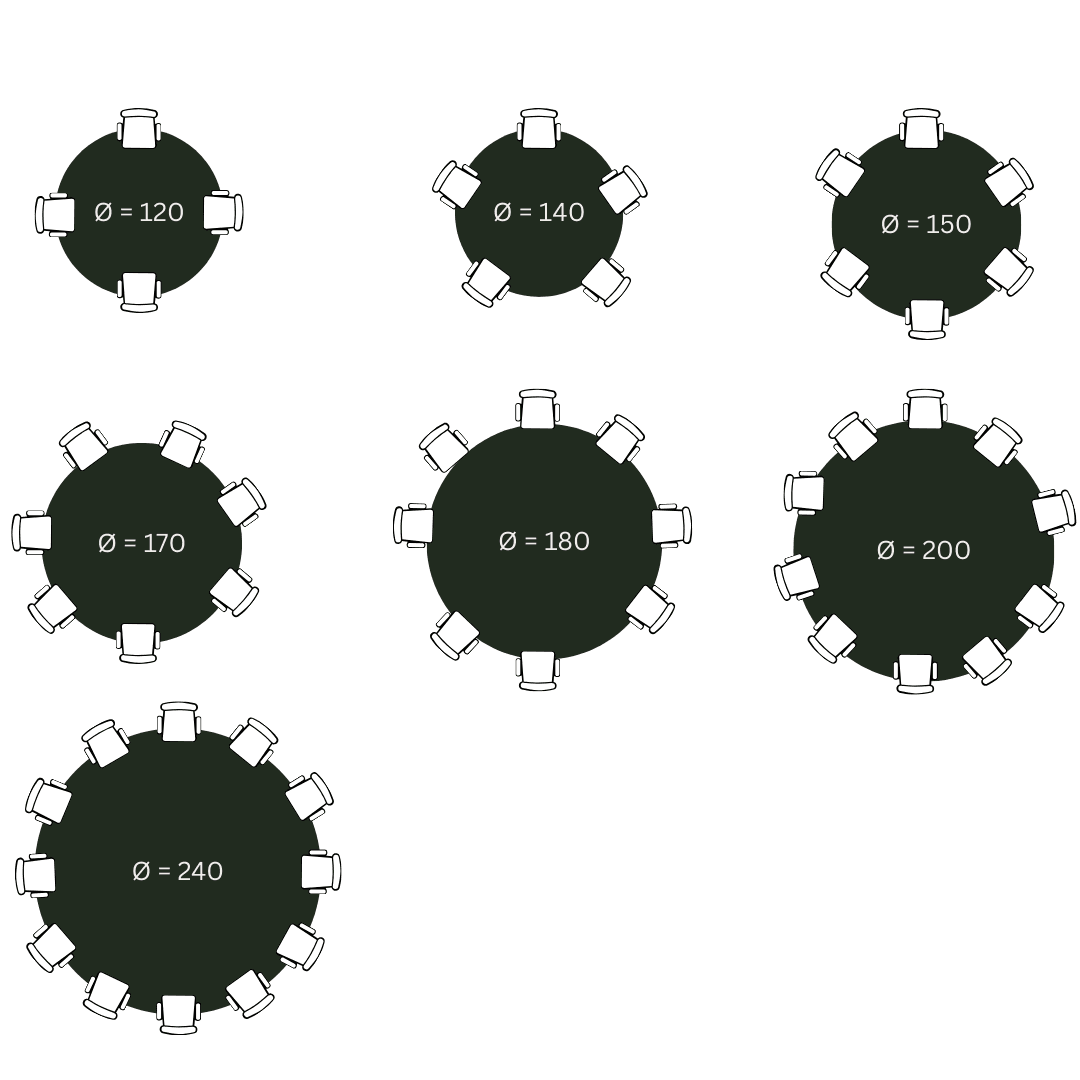
*Assumes 60–75 cm per person; wider chairs reduce count.
| Table Diameter (cm) | Seats* | Room Size (90 cm ) |
|---|---|---|
| 120 | 4 | 300×300 |
| 140 | 4–5 | 320×320 |
| 150 | 6 | 330×330 |
| 170 | 6–7 | 350×350 |
| 180 | 8 | 360×360 |
| 200 | 8–10 | 380×380 |
| 240 | 12 | 420×420 |
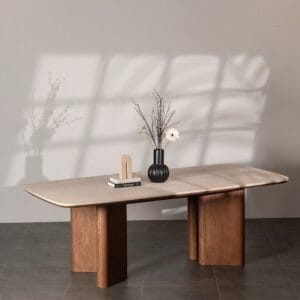
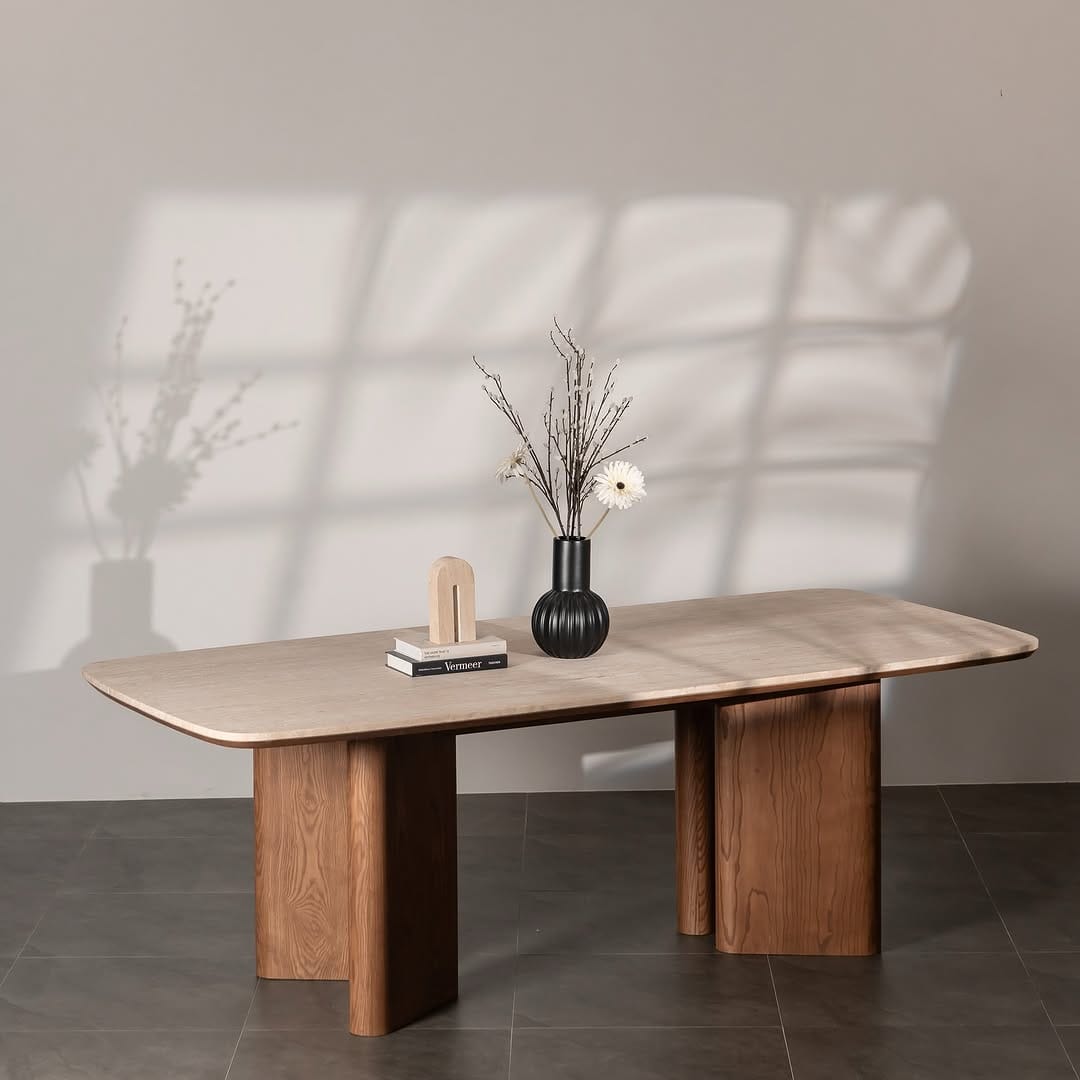
Rectangular Tables
Best for long rooms; maximizes seats along the sides.

*Assumes 60–75 cm per person; wider chairs reduce count.
| Table Dimensions (cm) | Seats* | Room Size (90 cm) |
|---|---|---|
| 120×80 | 4 | 300×260 |
| 140×85 | 4–6 | 320×265 |
| 160×90 | 6 | 340×270 |
| 180×90 | 6–8 | 360×270 |
| 200×100 | 8 | 380×280 |
| 240×100 | 8–10 | 420×280 |
| 270×110 | 10 | 450×290 |
| 300×110 | 10–12 | 480×290 |
*Seat counts follow the 60–75 cm per person rule; armchairs may reduce capacity.
Square Tables
Why square: Balanced seating on all sides; ideal in square rooms.
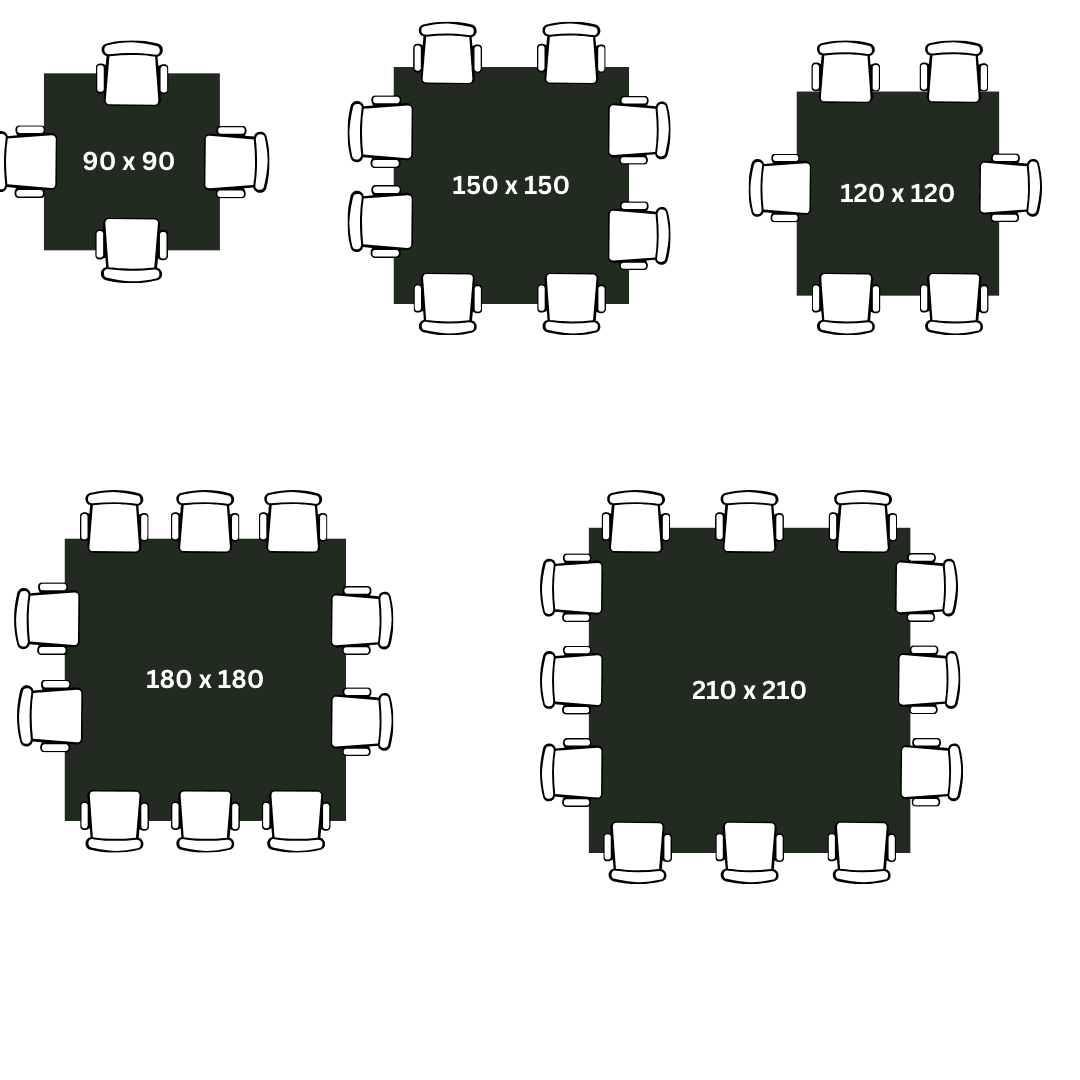
*Assumes 60–75 cm per person; wider chairs reduce count.
*Assumes 60–75 cm per person; wider chairs reduce count.
| Table Dimensions (cm) | Seats* | Room Size (90 cm) |
|---|---|---|
| 90×90 | 4 | 270×270 |
| 120×120 | 4–6 | 300×300 |
| 150×150 | 8 | 330×330 |
| 180×180 | 8–10 | 360×360 |
| 210×210 | 10–12 | 390×390 |
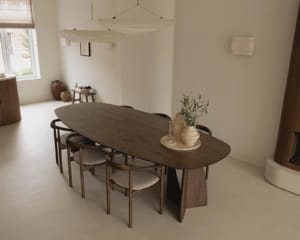
Oval Tables
Rectangle seating with softened corners—great for narrow rooms and smoother circulation.
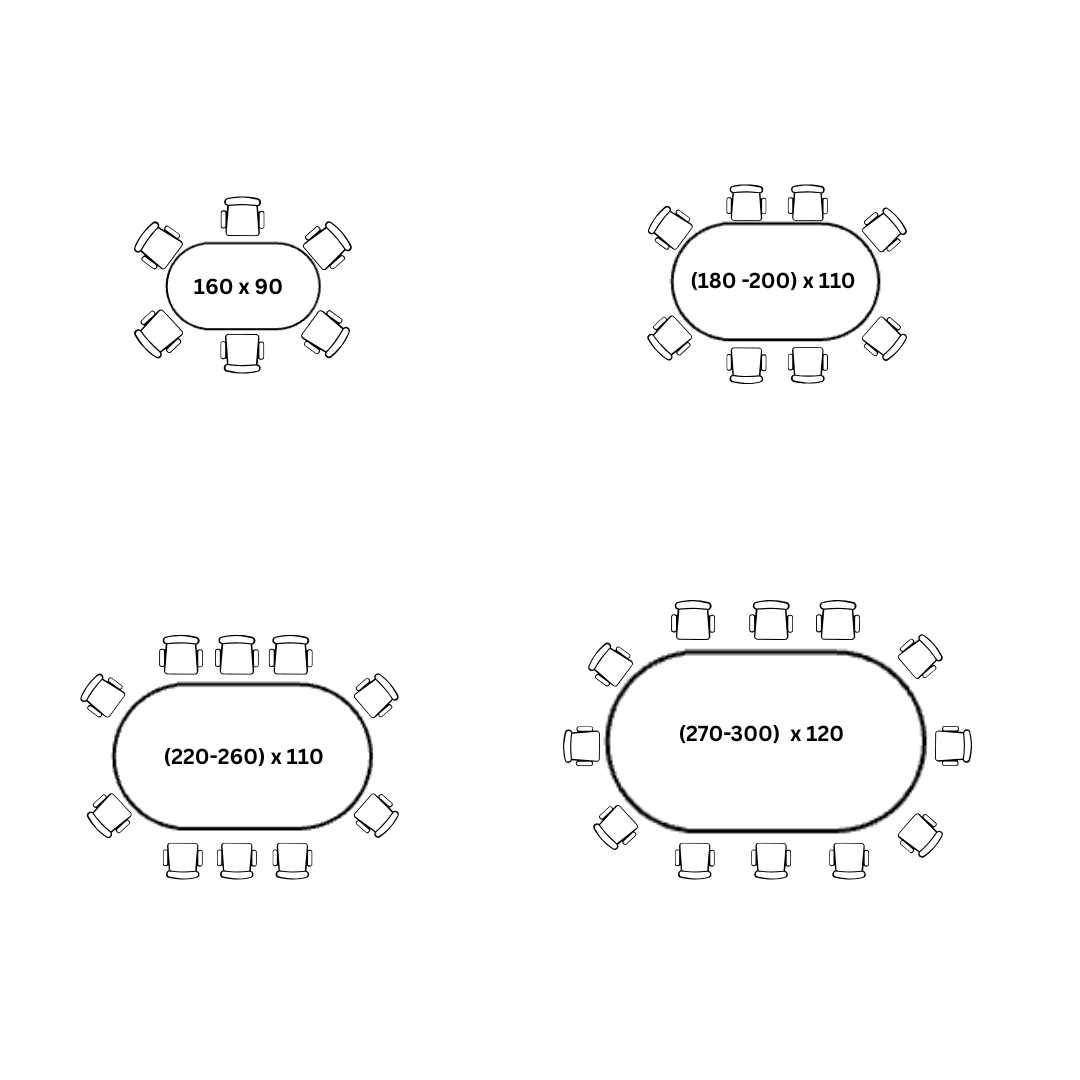
*Assumes 60–75 cm per person; wider chairs reduce count.
| Dimensions (cm) | Seats* | Room Size (90 cm) |
|---|---|---|
| 160×90 | 6 | 340×270 |
| 180×100 | 6–8 | 360×280 |
| 200×110 | 8 | 380×290 |
| 220×110 | 8–10 | 400×290 |
| 250×120 | 10 | 430×300 |
Fast Cheatsheet
- Elbow Space: 60 cm min • 75 cm comfortable
- Clearance: 60–70 cm works • 90 cm recommended for pass-through
- Mix clearances: 90 cm on traffic sides • 60 cm at walls • 75 cm for mixed areas
- Chairs: Slim armless chairs boost capacity; armchairs reduce it
Set Elbow Space and Clearance first—then pick the largest size that fits your room and movement paths.